cloud-based nerfstudio using AWS EC2 and S3 Mountpoint
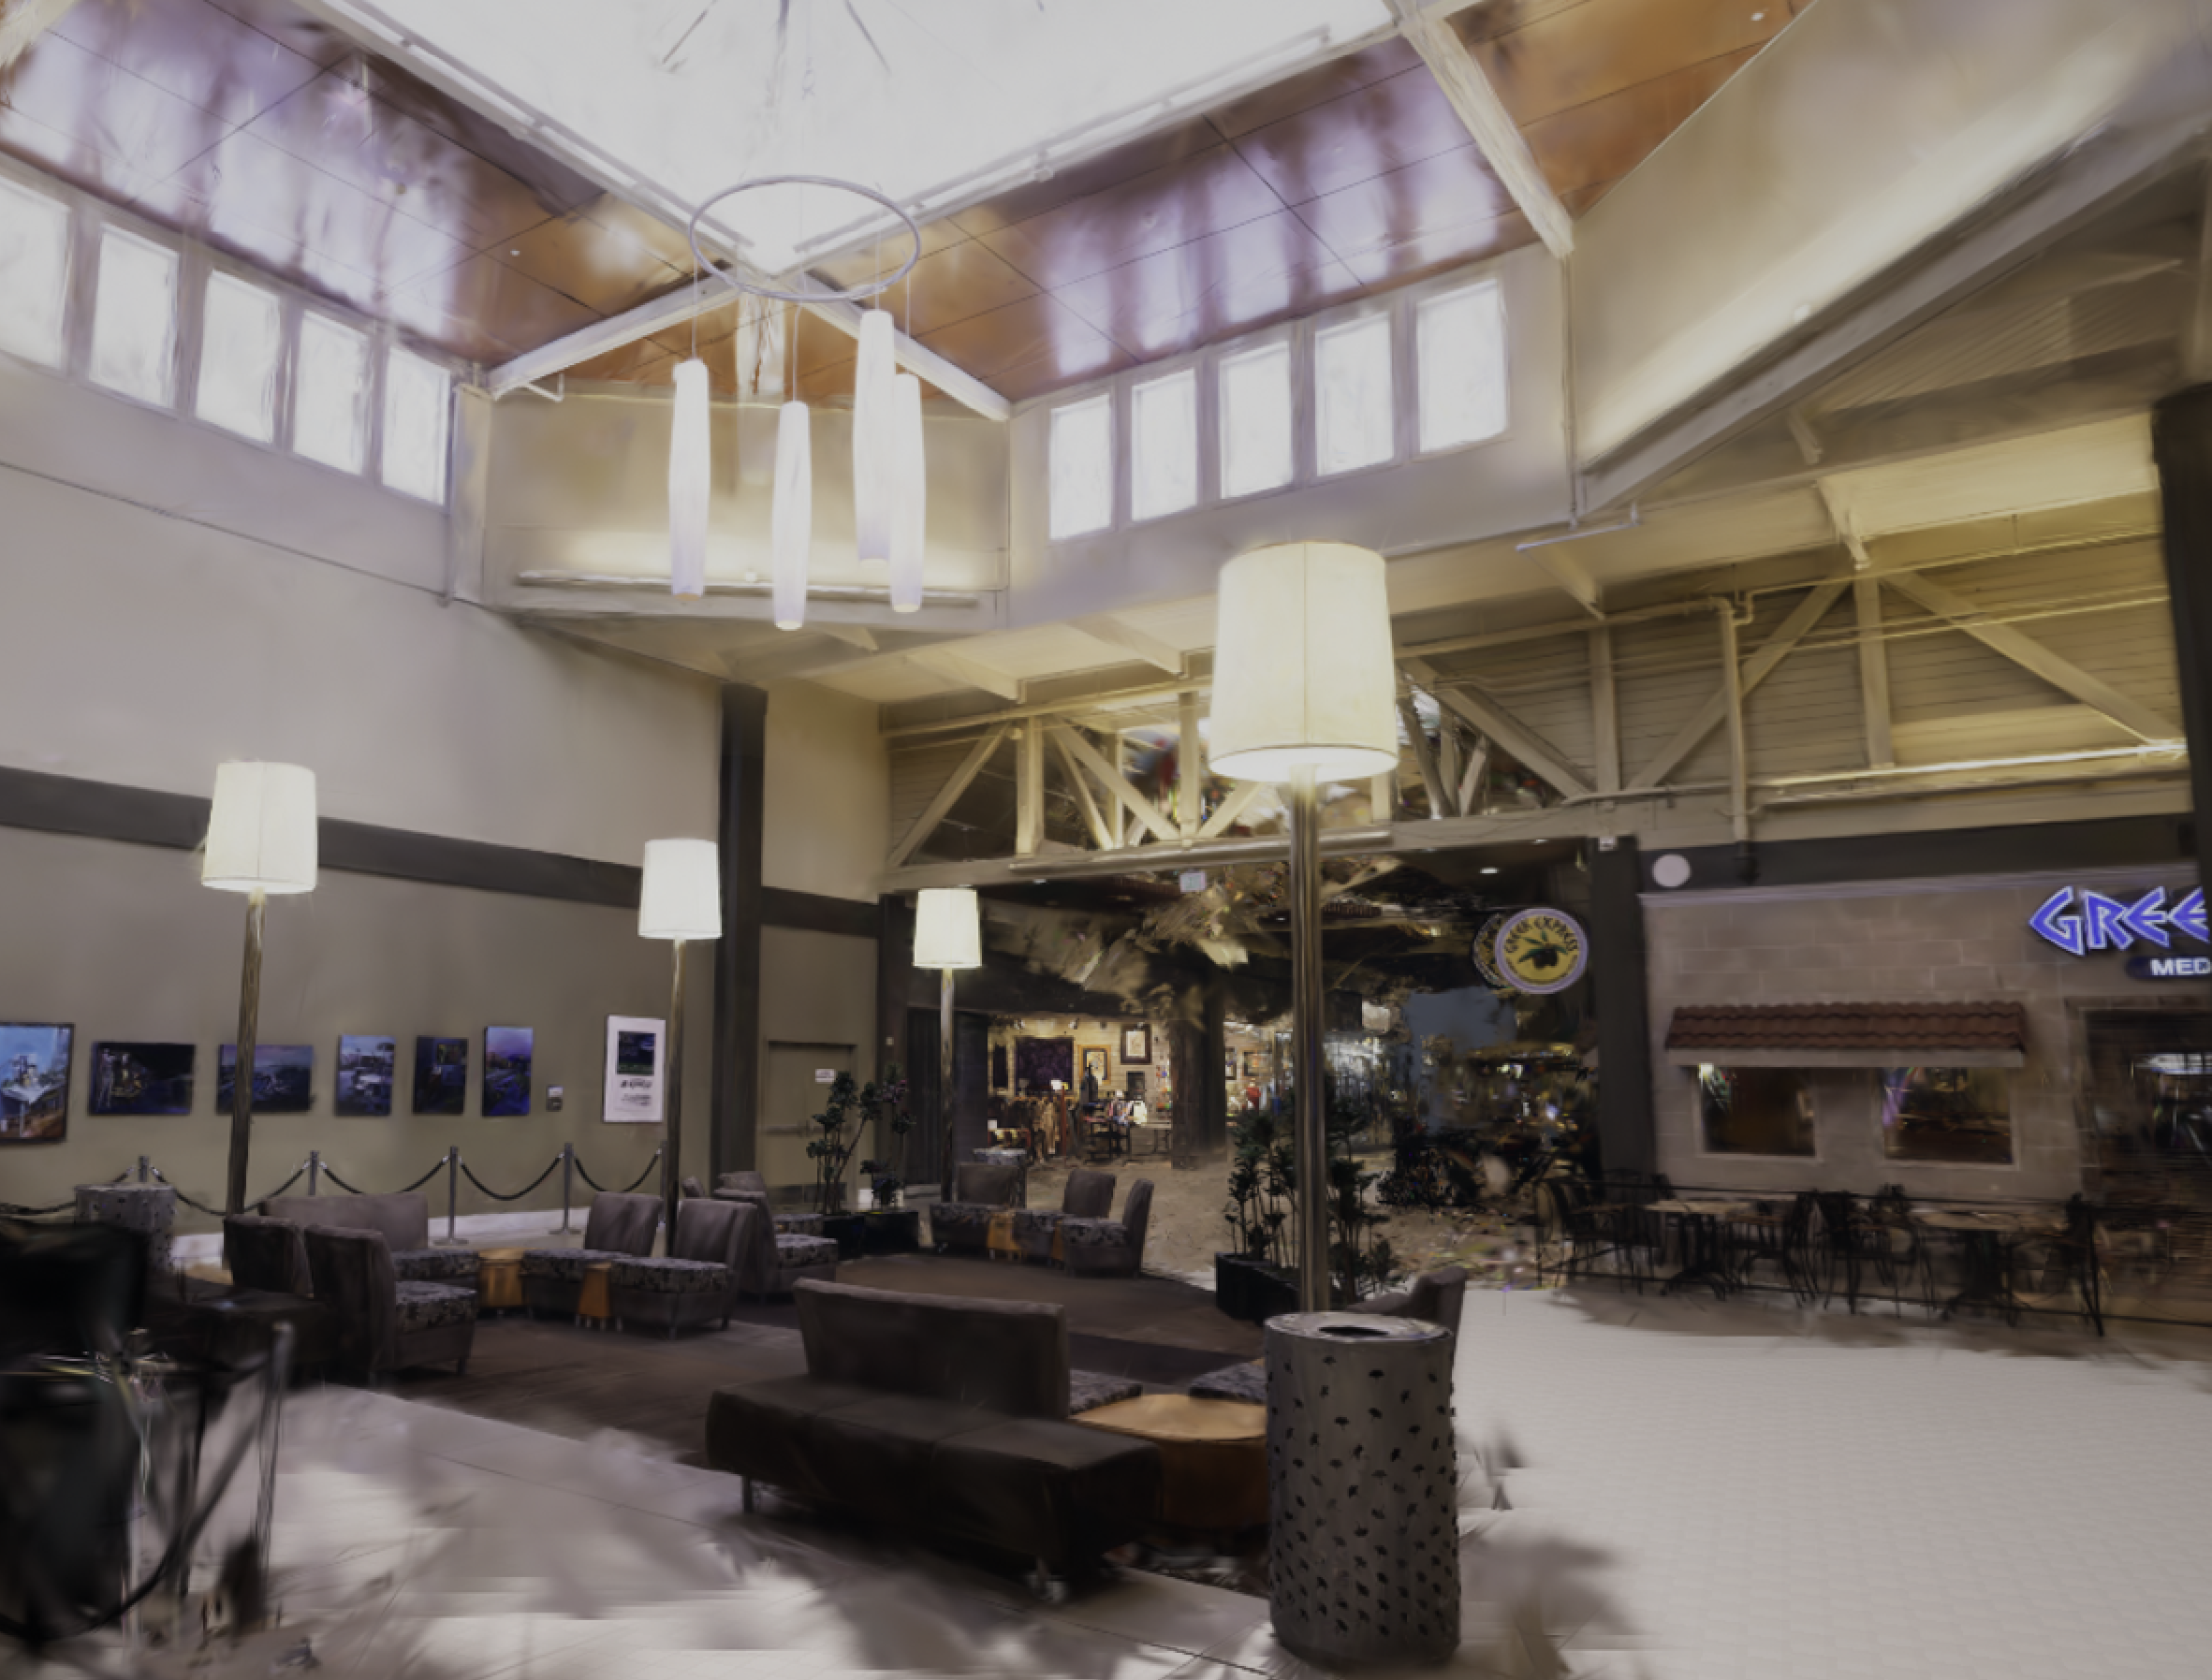
Below are notes on how I set up Nerfstudio on an EC2 g5.xlarge instance, for a project where I reconstruct a mall using pictures I took in 2018. I turned these images into Gaussian splats, then used the Luma AI plugin for Unreal Engine 5 to stitch the splats together into a walkable first-person experience.

https://docs.nerf.studio/quickstart/installation.html
Set up AWS resources
EC2 Instance
- Plan is to install nerfstudio on a fresh GPU-enabled EC2 instance running Ubuntu.
- You will need to request a quota increase on G-type instances if you haven't already.
- Quota for G-type on-demand instances: https://us-west-2.console.aws.amazon.com/servicequotas/home/services/ec2/quotas/L-DB2E81BA
- Need to increase vCPU limit to at least 4 to run a g5.xlarge instance.
- The AWS Deep Learning Base GPU AMI seems to have all the base requirements. It runs Ubuntu 20.04 and installs both CUDA 12.1 and CUDA 11.8.
- A major pain point with installation is making sure that the default CUDA is set to 11.8. The default in this AMI is 12.1, so once the instance is launched you need to make sure to configure 11.8 to be the default.
- The AMI link above says to change running CUDA version by updating the symbolic link
/usr/local/cuda. sudo rm /usr/local/cudasudo ln -sfn /usr/local/cuda-11.8 /usr/local/cuda
- Allocated 75GB on disk and wasn't enough later on, so extending to 200.
- I started a g5.xlarge instance with the AWS Deep Learning Base GPU AMI.
- to SSH into the host on Windows OpenSSH with a .pem file, need to change the key file's permissions to ONLY Read, on ONLY your user specifically.
- In the instance's security group open port 7007 to use the nerfstudio viewer. You can access it on your local machine on the address
http://<instance address>:7007
conda activate nerfstudio
change default CUDA version
- Git clone and use this script to switch CUDA version to 11.8: https://github.com/phohenecker/switch-cuda/tree/master
- Or just change running CUDA version by updating the symbolic link
/usr/local/cuda.sudo rm /usr/local/cudasudo ln -sfn /usr/local/cuda-11.8 /usr/local/cuda
install nerfstudio
https://docs.nerf.studio/quickstart/installation.html
- install miniconda https://docs.anaconda.com/free/miniconda/#quick-command-line-install then restart the shell. I had to do
exitthen/bin/bashthencd / - install as specified above.
s3 mountpoint
- https://docs.aws.amazon.com/AmazonS3/latest/userguide/mountpoint-installation.html#mountpoint.install.deb
- did credentials by having the instance profile provide full s3 access.
- create folder where you want to mount, then
mount-s3 <bucket name> <folder name> - Currently not able to have the output dir for
ns-process-dataas a folder inside the s3 bucket;PermissionError: [Errno 1] Operation not permitted: 'processed-data/images/frame_00001.jpg'
remount when restarting instance after stopping
mount-s3 factoria-2018-dataset ./s3mount-factoria-2018-dataset
install COLMAP and ffmpeg
- needed to train custom image sets.
- https://docs.nerf.studio/quickstart/custom_dataset.html#installing-colmap
- worked without issue.
- Just installed ffmpeg using conda
conda install ffmpegand works without issue
creating the splat!!!
Process image data
ns-process-data images --data ./s3mount-factoria-2018-dataset/area-4/ --output-dir ~/area-4-processed
Generate the splat
ns-train splatfacto --data ~/area-4-processed --output-dir ~/area-4-outputs
ns-render camera-path --load-config /home/ubuntu/area-4-outputs-ingp/area-4-processed/instant-ngp/2024-04-14_080837/config.yml --camera-path-filename /home/ubuntu/area-4-processed/camera_paths/2024-04-14-09-59-00.json --output-path renders/area-4-processed/2024-04-14-09-59-00.mp4
do the command in background even after terminal exits
https://phoenixnap.com/kb/linux-run-command-background
nohup [command] &
Check the background processes' status in the current shell session with the jobs command:
jobs
The output saves in the nohup.out log file. Verify the log with cat:
cat nohup.out
To bring a background process back to the foreground, use fg followed by the job ID or process ID.
For instance, if Vim had job ID 1, bring it back to the foreground using the job ID with:
fg 1%
To use the process ID, execute:
fg 2781